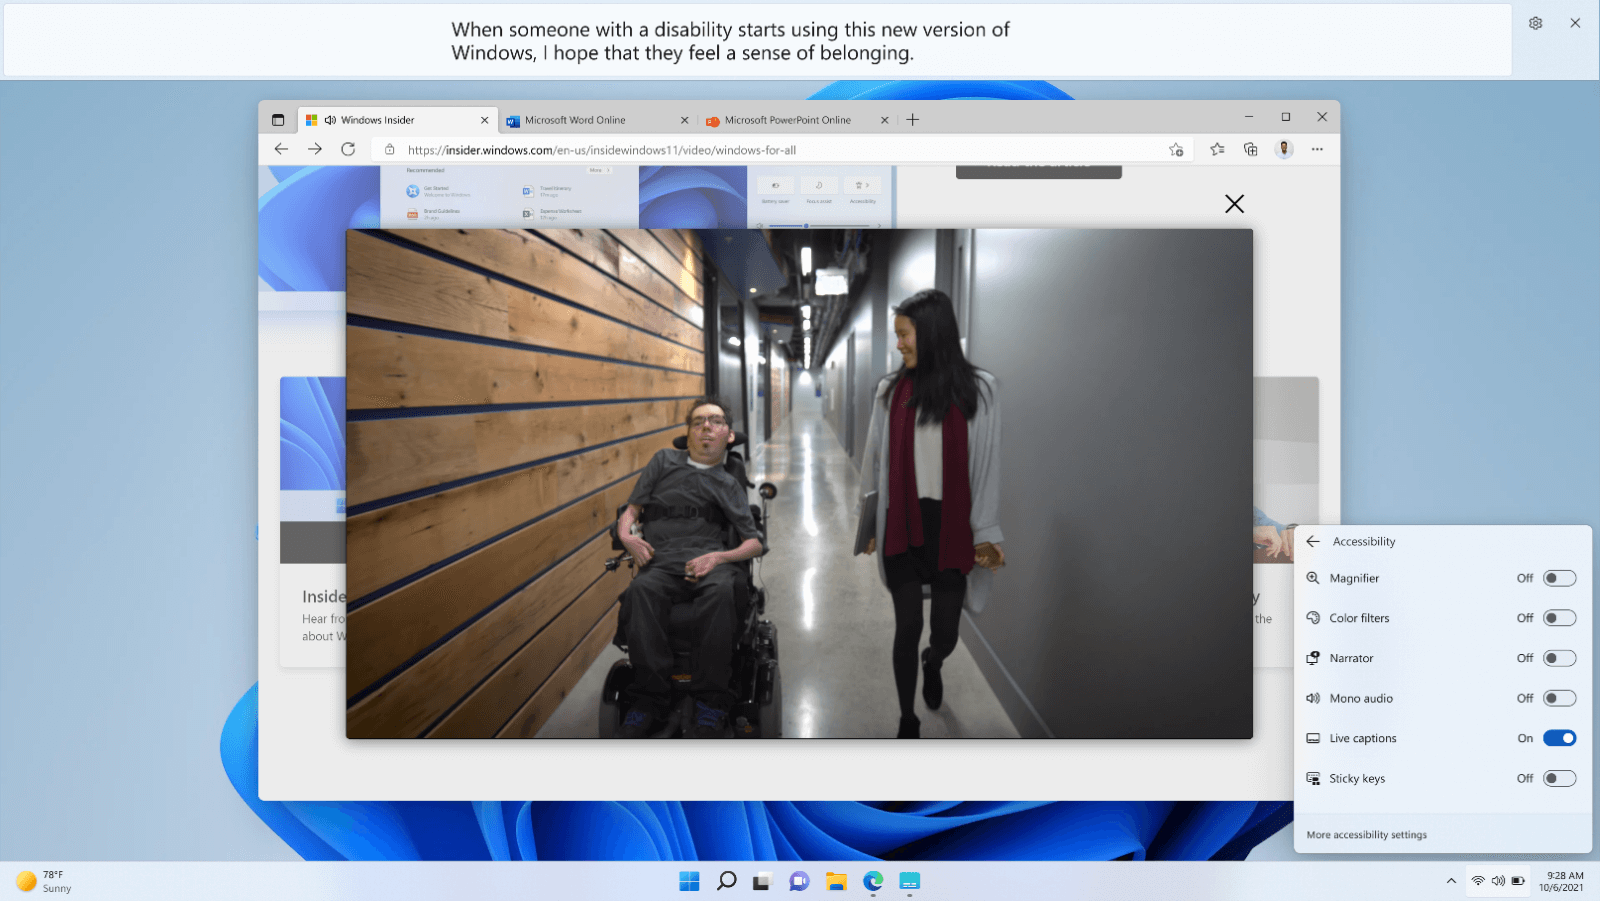
Live captions helps everyone, including people who are deaf or hard-of-hearing, better understand audio by providing automatic transcription.
Live captions is available in Windows 11, version 22H2 and later. The latest live captions update includes support for multiple languages and changes to some of the menu items. If you don’t have this update yet, note that new Windows 11 features are released gradually.
For more information on the new features in Windows 11, version 22H2, and how to get the update, see What's new in recent Windows updates. Not sure which version of Windows you have? See: Find Windows version.
In this article
Live captions integrates with the Windows desktop, so you can read captions while working in other apps. Captions can be provided for audio even when disconnected from the internet. You can personalize how captions are displayed, and you can include microphone audio to make in-person conversations easier.
Turn on live captions
To turn on live captions, do one of the following:
-
Turn on the Live captions toggle in the quick settings Accessibility flyout. (To open quick settings, select the battery, network, or volume icon on the taskbar.)
-
Press Windows logo key + Ctrl + L.
-
Select Start > All apps > Accessibility > Live captions.
-
Go to Settings > Accessibility > Captions, and turn on the Live captions toggle.
When turned on the first time, live captions will prompt you to download live captions language files to be used by on-device speech recognition. If your language is not available, you can use another language during setup.
Personalize how captions are displayed
To choose where captions are displayed on your desktop:
-
Select the Settings button in the live captions window.
-
Select Position.
-
Choose either Top, Bottom, or Floating on screen.
-
When you choose Top or Bottom, the captions window will appear as docked to the top or bottom screen edges in reserved space on your desktop, and other apps will not be blocked by the captions window. When docked to the top, you might find that live captions works well while sharing video in a virtual meeting or conversation, whereas in other cases, such as viewing videos, docking to bottom might work best.
-
When you choose Floating on screen, the live captions will appear in an overlay window which you can reposition as needed to avoid obscuring other apps in use.
-
To show more lines of text in the captions window, increase the window size by using the mouse, touch, or keyboard.
Make captions easier to read
-
Select the Settings button in the live captions window.
-
Select Preferences.
-
Select Caption style. The Accessibility settings for Captions opens.
-
Under Caption style, do one of the following:
-
Select a built-in style from the dropdown menu. Use the Default built-in style to have captions displayed with colors appropriate to your device’s dark or light mode setting in Settings > Personalization > Colors > Choose your mode.
-
Select the Edit button to create a custom style that works best for you.
-
Use your microphone
To caption your own speech:
-
Select the Settings button in the live captions window.
-
Select Preferences, and turn on the Include microphone audio option.
Any audio captured by your microphone will be captioned, provided that no other audio on your device is being captioned. For example, if you use live captions to caption an online meeting with another person, if you both speak over each other, you will only see the captions for the other person while the other person is speaking.
Note: When you next turn on live captions, this option will be turned off.
To check your device’s microphone configuration, see Settings > System > Sound and review the Input options.
Add and use other languages
To add other languages:
-
Select the Settings button in the live captions window.
-
Select Caption language.
-
Select Add a language. The Language & region settings window opens.
-
In Language & region settings, go to Preferred languages, and then select Add a language.
-
In Choose a language to install, browse or search for a language with support for Speech recognition, and then select Next.
-
In Install language features, select the features you want to use, while ensuring Enhanced speech recognition is selected, and then select Install.
When the installation of the enhanced speech recognition feature has completed for the language you selected, the language appears in live captions' Caption language menu.
To use other languages:
-
Select the Settings button in the live captions window.
-
Select Caption language.
-
Select the language you want to use.
When the new language is selected, live captions will display that it’s ready to caption in the new language.
Get the most out of live captions
-
To mask profanity, go to the Settings menu, select Preferences, and turn on the Filter profanity option.
-
To improve captioning accuracy when using the microphone, make sure to minimize background noise in your environment and speak directly into the microphone.
-
To ensure minimal delay in captions or if you notice that captions are not appearing, try closing unused apps to maximize performance.
-
Resource-intensive apps (for example, apps that share video) might impact the real-time behavior of live captions, leading to delays in captions, or even dropped captions. If this happens, consider limiting some app functionality while depending on live captions (for example, turn off any background effects or other special effects applied to shared video).
-